How to Batch Edit in Lightroom: Learn Efficient Photo Editing
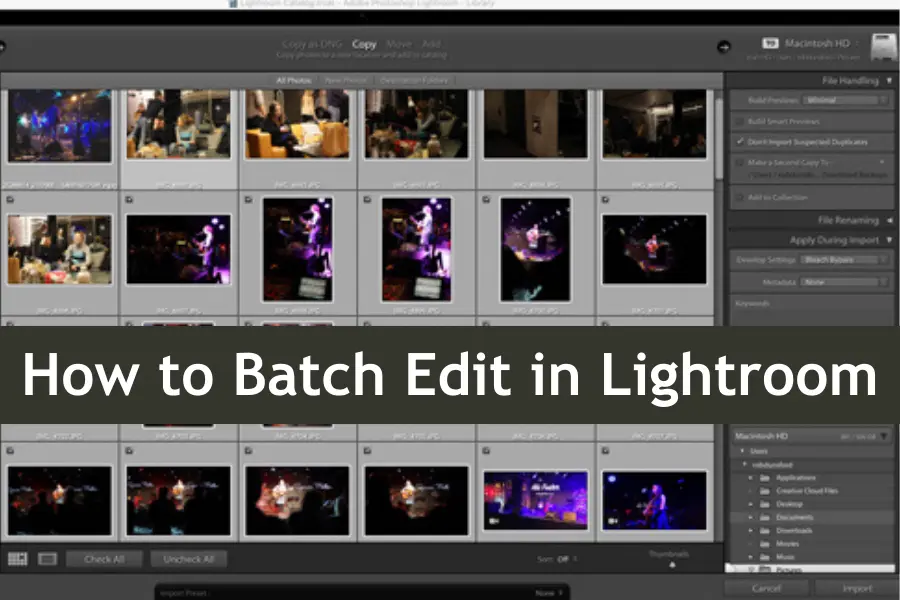
Editing photos one by one in Lightroom can be daunting and time-consuming, especially when dealing with hundreds or even thousands of images. It’s frustrating when you know there’s a faster way, but you need help figuring out how to make it work. But there’s a solution that will save you hours of work and elevate your photo editing game.
Batch editing in Lightroom is a powerful feature that lets you simultaneously apply the same adjustments to multiple photos. Transforming an entire set of images with just a few clicks while maintaining consistency and quality across the board is not only possible but also easier than you might think.
In this guide, I’ll show you exactly how to batch edit in Lightroom, breaking down the process step-by-step so you can enhance your workflow and get back to doing what you love – capturing stunning photos.
| Step | Action | Description |
|---|---|---|
| Step 1 | Import Photos/Videos | Import your media into Lightroom, organizing them into folders or collections for easy access. |
| Step 2 | Select Multiple Files | Choose the files you want to edit by using Shift or Ctrl/Cmd to select them. |
| Step 3 | Apply Presets | Use Lightroom’s presets to quickly apply consistent edits to all selected files. |
| Step 4 | Synchronize Settings | After making manual adjustments, synchronize these settings across all selected files. |
| Step 5 | Fine-Tune Edits | Review individual photos or videos and make additional adjustments if needed. |
| Step 6 | Batch Export | Export the edited files with consistent settings, using Lightroom’s export presets for efficiency. |
What is Batch Editing in Lightroom?
Batch editing in Lightroom is a feature that allows you to apply the same edits to multiple photos simultaneously. Instead of adjusting each photo one by one, you can select a group of images and apply changes in one go. This could include adjustments to exposure, contrast, color balance, or applying a preset filter. It’s an essential tool for anyone looking to streamline their editing process and keep their work consistent.
Why Batch Editing is a Game-Changer for Photographers
Batch editing is a game-changer because it drastically reduces the time spent on post-processing. Whether you’re editing a wedding shoot, a travel album, or a set of product photos, batch editing allows you to focus on creative tasks rather than repetitive ones. It also ensures that your edits are consistent, which is crucial when you want your portfolio to have a polished and professional appearance. With batch editing, you can achieve your desired look across hundreds of photos in just a few clicks, making it an indispensable tool in any photographer’s arsenal.
Preparing Your Photos for Batch Editing
Before diving into batch editing, it’s essential to properly prepare your photos to ensure a smooth and efficient workflow. Organization at the start can save you time and hassle later on. Here’s how to get your photos ready for batch editing in Lightroom.
Importing Photos into Lightroom
The first step in any Lightroom workflow is importing photos into the software. When you open Lightroom, click the “Import” button, and you’ll be guided through the process. You can choose the source you’re importing, whether it’s your camera, memory card, or a specific folder on your computer. You can also apply basic presets, rename files, or add metadata during import. This sets the stage for a more organized and efficient editing process later.
Organizing Your Photos Using Collections and Folders
Once your photos are imported, organization is key. Lightroom offers powerful tools to help you manage your photos effectively. Use folders to store your photos by event, date, or project. Collections are another fantastic way to group photos without moving them from their original locations. For example, you can create a collection of all the photos from a specific shoot, making it easier to apply batch edits later. This step ensures you can quickly locate and edit the needed photos without sifting through your entire library.
Initial Adjustments Before Batch Editing
Before starting batch editing, it’s a good idea to make some initial adjustments to a single photo representing the batch. Start with basic adjustments like exposure, white balance, and contrast to set the tone for the rest of the images. Once you’re satisfied with the initial edit, you can easily apply these adjustments to the rest of the photos in the batch. This pre-editing step ensures that your batch edits will be consistent and saves you from making adjustments afterward.
Step-by-Step Guide: How to Batch Edit in Lightroom
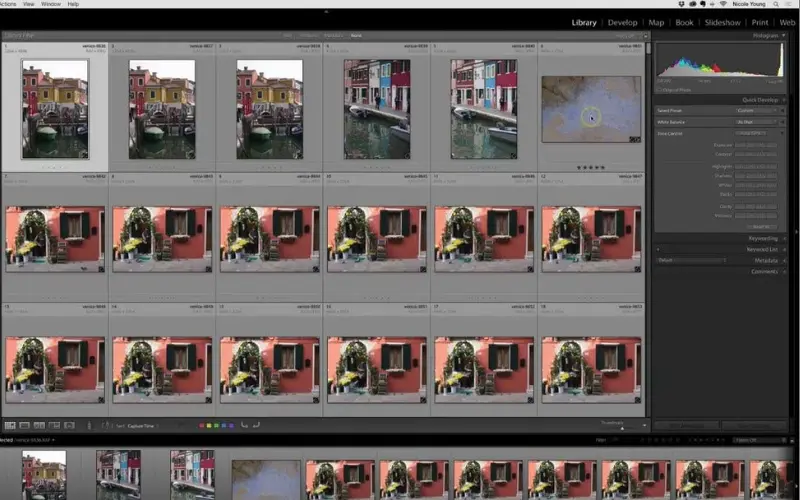
Batch editing in Lightroom is a straightforward process that can significantly enhance your editing efficiency. Whether you’re working with a small set of images or hundreds of photos, following these steps will help you achieve consistent, high-quality edits with minimal effort.
Selecting Multiple Photos for Batch Editing
The first step in batch editing is selecting the photos you want to edit. In Lightroom, this is easy to do:
- Open Lightroom and navigate to the Library module.
- Click on the folder or collection that contains the photos you want to edit.
- To select multiple photos, click on the first image, hold down the Shift key, and then click on the last image in the sequence. This will select all the photos in between.
- Alternatively, hold down the Ctrl (Cmd on Mac) key to select individual photos that aren’t in sequence.
Once you’ve selected the photos, you can start batch editing.
Applying Presets to Multiple Photos
Applying presets is one of the quickest ways to achieve a consistent look across all your photos:
- With your selected photos highlighted, switch to the Develop module.
- On the left panel, you’ll see a list of presets. These pre-configured settings can dramatically change your photos’ appearance with just one click.
- Choose the preset that suits your style or the mood you want to create. When you click on a preset, it will be applied to the selected photo.
- Click the “Sync” button at the bottom right to apply the same preset to all selected photos. This will open a dialog box where you can select which settings to synchronize across all selected photos.
Using presets speeds up the editing process and ensures that all your photos have a cohesive look.
Synchronizing Settings Across Selected Photos
After applying a preset, you should adjust your photos more. Synchronizing these settings across multiple photos is easy:
- You can edit one of the selected photos to your liking. You can adjust exposure, contrast, color grading, or any other settings you need.
- Once satisfied with the edit, click the “Sync” button.
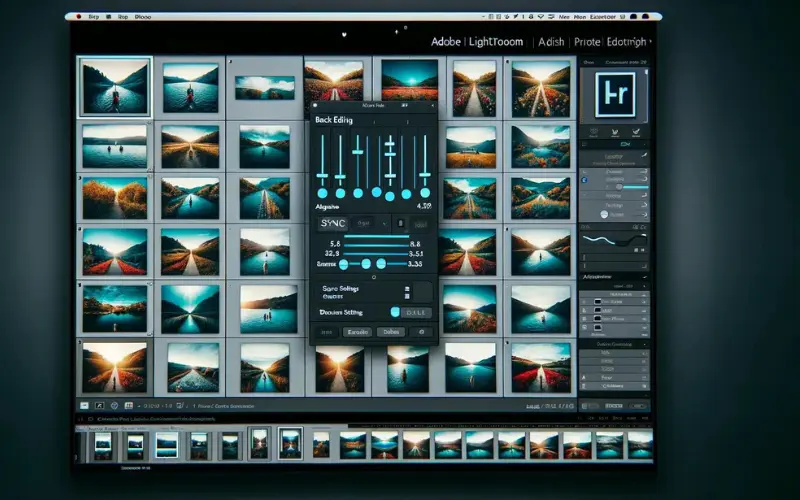
- In the Synchronize Settings dialog box, choose which adjustments to apply to the rest of the photos. You can synchronize everything or just specific settings like exposure or white balance.
- Click “Synchronize,” and Lightroom will apply these settings to all the selected photos.
This method ensures that all your photos are edited consistently, saving you from making the same adjustments repeatedly.
Fine-Tuning Individual Photos Within a Batch
Even after batch editing, some photos need extra attention. Lightroom allows you to fine-tune individual photos within a batch:
- After synchronizing your settings, go back and review each photo.
- If you notice that a particular photo needs tweaking—perhaps the lighting is slightly different, or the composition calls for a unique adjustment—make those changes individually.
- You can adjust settings like exposure, cropping, or color balance on a photo-by-photo basis without affecting the other images.
This final step ensures that every photo in your batch is polished and perfectly aligned with your creative vision.
Did You Ever Wonder?
Freelancers who batch edit in Lightroom complete projects 40% faster on average, allowing them to take on more clients and increase their income.
Best Practices for Achieving Consistent Edits
Consistency is key in batch editing. To ensure your edits look uniform across all photos:
- Start with a Reference Photo: Choose one photo that best represents the batch and make your initial edits. This will serve as your baseline for all other photos.
- Use Global Adjustments Sparingly: While applying broad adjustments like exposure or contrast to the entire batch is tempting, be cautious. Slight variations in lighting or color between photos can make a uniform adjustment look off on some images.
- Check Before You Sync: Double-check your edits on the reference photo before synchronizing settings across your batch to ensure everything looks right. Correcting mistakes on one photo is easier than across an entire set.
Using Custom Presets for Faster Batch Editing
Creating and using custom presets can save you significant time:
- Create a Custom Preset: If you frequently apply the same adjustments, save them as a preset. You can apply them to any batch with a single click.
- Tweak as Needed: After applying a custom preset, make any necessary adjustments to individual photos within the batch. Lightroom allows you to customize the preset further to fit each photo’s unique needs.
- Use Presets as a Starting Point: Think of presets as a foundation. They get you close to your desired look, but you might still need to fine-tune certain aspects for perfection.
Avoiding Common Mistakes During Batch Editing
Batch editing can be efficient, but it’s easy to make mistakes that compromise the quality of your work:
- Over-editing: Applying too many edits at a time can lead to unnatural-looking photos. Please keep it simple and focus on enhancing the image rather than transforming it completely.
- Ignoring Individual Photo Needs: Not all photos in a batch will require the same level of editing. Always review each image after batch editing to catch any that need additional tweaks.
- Rushing Through the Process: Speeding through batch editing is tempting, but haste can lead to oversight. Take your time to ensure each step is done correctly.
Lightroom vs Affinity Photo: Which Photo Editing Tool is Better
Advanced Batch Editing Techniques
Once you’re comfortable with the basics, you can explore advanced techniques to enhance your workflow.
Applying Selective Edits to Multiple Photos
Selective edits allow you to apply changes to specific parts of an image, even across a batch:
- Use the Graduated Filter: This tool is great for adjusting specific areas, like darkening a sky or brightening a foreground. You can synchronize these adjustments across multiple photos to maintain consistency.
- Brush Tool for Precision: If you need to make more detailed edits, the Brush Tool allows for precise adjustments that can be synced across selected photos, maintaining the same focus on key areas.
- Range Masking: This advanced feature lets you apply selective edits based on color or luminance ranges, making it easier to target specific parts of your photos across a batch.
Batch Exporting Photos with Specific Settings
After editing, exporting your photos correctly is just as important:
- Set Up Export Presets: Create export presets for different needs—web, print, and social media. This way, you can quickly export photos with the correct settings without manually adjusting them each time.
- File Naming and Organization: Use batch renaming to keep your files organized. During export, you can add custom text, sequential numbers, or even metadata to your file names.
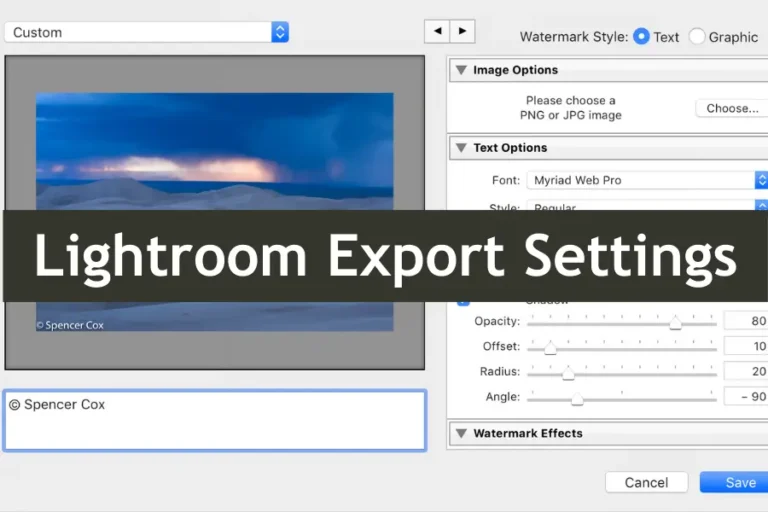
- Resize and Sharpening: Lightroom allows you to resize and sharpen photos during export. If exporting for different platforms, use the correct dimensions and sharpening settings.
Quick Fact
Lightroom’s ability to synchronize selective edits across multiple photos is a unique feature not commonly found in other editing software, making it a preferred choice for photographers dealing with complex lighting situations.
Using Keyboard Shortcuts to Speed Up the Process
Keyboard shortcuts can drastically speed up your batch editing process:
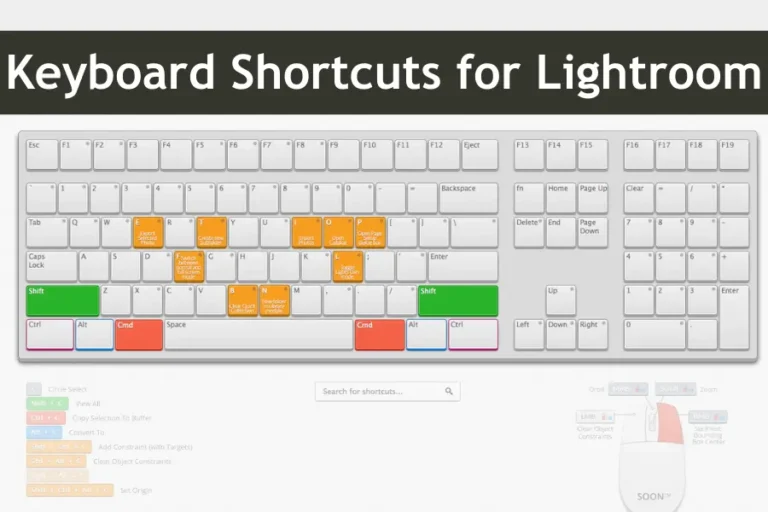
- Learn the Basics: Shortcuts like “G” for Grid View, “D” for Develop Module, and “R” for Crop are essential for quickly navigating Lightroom.
- Batch Shortcuts: Use “Ctrl/Cmd + Shift + S” to open the Synchronize Settings dialog instantly and “Ctrl/Cmd + Shift + E” to quickly open the Export dialog.
- Custom Shortcuts: Lightroom allows you to create custom shortcuts for frequently used actions, further speeding up your workflow.
Ensuring Quality While Editing a Large Batch of Photos
Editing a large batch of photos can sometimes lead to a decline in quality, especially if shortcuts are taken. Ensuring high-quality results across all images is crucial.
- Edit in Smaller Batches: Instead of editing all photos simultaneously, consider breaking them into smaller, more manageable groups. This allows you to maintain focus and attention to detail.
- Use Virtual Copies: Create virtual copies of your photos before applying batch edits. This way, you can experiment with different settings without affecting the original files, ensuring you can always return if something doesn’t look right.
- Review Before Final Export: Before exporting your entire batch, review the photos to catch any inconsistencies or errors. Lightroom’s Compare View and Survey View are useful tools for comparing multiple images.
How to Batch Edit Videos Using Similar Techniques
Batch editing videos in Lightroom is remarkably similar to batch editing photos. Here’s a quick guide:
- Import Your Video Clips: Start by importing your video clips into Lightroom just like you would with photos. Navigate to the Library module, click “Import,” and select your video files.
- Select Multiple Videos: To apply edits to multiple videos, select the clips you want to batch edit. You can do this by holding down the Shift key to select a range of clips or the Ctrl (Cmd on Mac) key to pick individual ones.
- Apply Presets and Adjustments: With your videos selected, you can apply a preset or make manual adjustments. Lightroom allows you to edit exposure, contrast, color grading, and more. Once you’ve made your edits on one video, use the “Sync” button to apply these settings to the other selected videos.
- Export Your Edited Videos: After you’re satisfied with the edits, export your videos. Lightroom allows you to export multiple videos simultaneously, applying the same settings, such as resolution and file format, across the batch.
Best Practices for Consistent Video Edits
To achieve the best results when batch editing videos in Lightroom, keep these tips in mind:
- Start with a Preset: Like with photos, starting with a preset can save time and ensure a uniform style across all your videos. Lightroom’s presets can be applied to video, giving your content a cohesive look.
- Check for Consistency: After batch editing, review your videos to ensure that the edits look consistent across different scenes and lighting conditions. Adjust individually, especially for clips with different lighting or color tones.
- Optimize Export Settings: When exporting your videos, choose settings that best suit the platform or purpose of your content. Ensure all clips are exported with the same resolution, frame rate, and quality settings to maintain consistency.
Conclusion
Batch editing in Lightroom, whether for photos or videos, is a powerful tool that saves time and ensures consistency. Applying the same edits across multiple files will streamline your workflow and maintain a cohesive look throughout your project. It’s an essential technique for photographers and content creators looking to enhance their productivity without compromising quality.
Now is the perfect time to start if you haven’t incorporated batch editing into your Lightroom workflow. The benefits are clear: quicker edits, consistent results, and more time to focus on creativity rather than repetitive tasks. Whether editing a large set of photos or multiple video clips, batch editing will help you work smarter, not harder.



One Comment